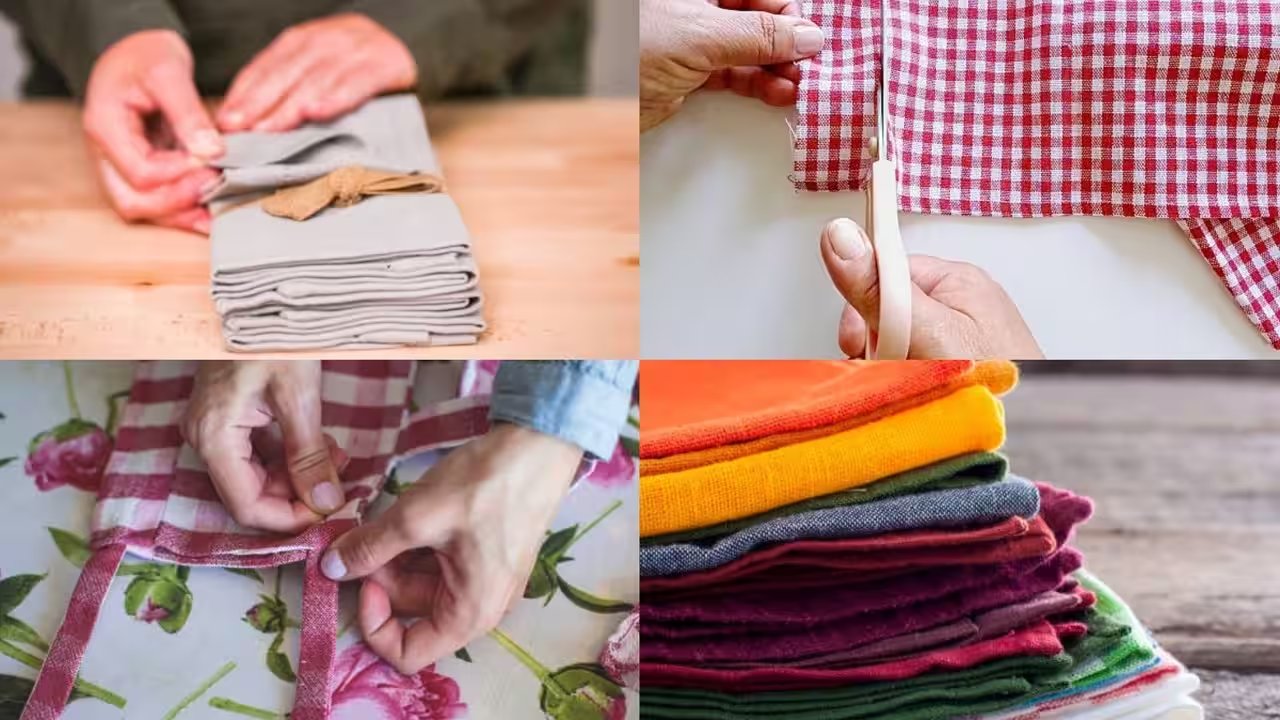
Grab an old t‑shirt, cut it into 30‑cm squares, and you’ll have a set of reusable kitchen napkins—no sewing machine, no needles, just a good pair of scissors.
The trick starts with picking the right stretch of fabric: the back of a shirt or the middle of a long‑sleeve works best because it’s flat and clean. If you’re lucky enough to have a cotton tee, the fabric feels soft and absorbs spills without soaking through too quickly. Measure with a ruler, mark with a washable marker, and keep your cuts straight—your napkins will look more deliberate when the lines are crisp.
Next, trim the edges with pinking shears. The zig‑zag blade cuts on a slight bias, which slows fraying, especially on tightly woven cotton. Run the shears around every side of each square, staying close to the raw edge for a neat finish. If you don’t have pinking shears, a sharp pair of scissors can work, but the fray will be a bit more noticeable.
For an extra boost of durability, coat the pinked edges with a thin line of fabric glue or a liquid seam sealant. Let it dry fully before handling. If you’re in a pinch, a clear nail polish will do the trick—just dab it carefully and avoid smudging the rest of the napkin. This step isn’t mandatory, but it keeps the edges tidy after a few wash cycles.
Finally, give them a quick press with a hot iron to flatten any creases left from cutting. The napkins will feel slightly crisper and look like they were made on purpose rather than just cut from an old shirt. If fraying starts after a few months of use, simply re‑pinky the edge—no cut‑and‑paste needed, just a quick trim. Your homemade napkins are ready for the dishwasher and will keep your kitchen looking stylish and sustainable.